准备工作
你需要有一个Centos系统,可以是云服务器,可以是Termux安装的,可以是Docker安装的,VMware虚拟机,esxi虚拟机,ikuai虚拟机……
安装Node.js,FFmpeg
安装Redis
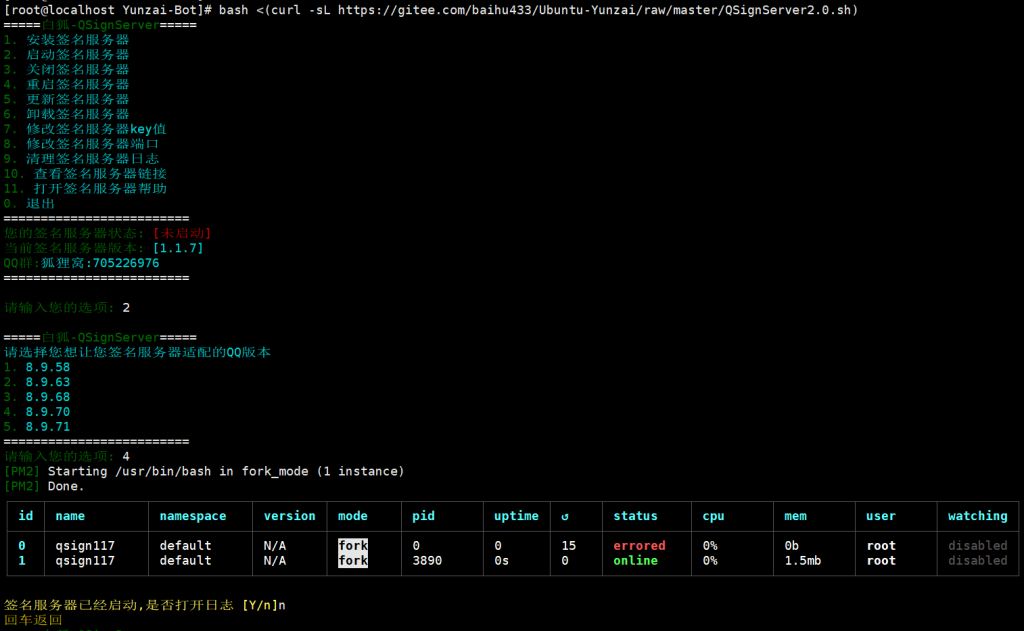
安装签名服务器
原项目地址:https://gitee.com/baihu433/Ubuntu-Yunzai
bash <(curl -sL https://gitee.com/lushanyanyv/qsign/raw/master/QSignServer.sh)
安装Yunzai-Bot
cd /root && git clone --depth=1 -b main https://gitee.com/yoimiya-kokomi/Yunzai-Bot.git
cd Yunzai-Bot #进入Yunzai目录
npm install pnpm --location=global
npm install pnpm --location=global
pnpm install -P
安装依赖
依赖库
yum install pango.x86_64 libXcomposite.x86_64 libXcursor.x86_64 libXdamage.x86_64 libXext.x86_64 libXi.x86_64 libXtst.x86_64 cups-libs.x86_64 libXScrnSaver.x86_64 libXrandr.x86_64 GConf2.x86_64 alsa-lib.x86_64 atk.x86_64 gtk3.x86_64 -y字体
yum install ipa-gothic-fonts xorg-x11-fonts-100dpi xorg-x11-fonts-75dpi xorg-x11-utils xorg-x11-fonts-cyrillic xorg-x11-fonts-Type1 xorg-x11-fonts-misc -y启动redis
pm2 start redis-server启动机器人
node app第一次会报错
修改签名服务器
运行签名服务器
bash <(curl -sL https://gitee.com/lushanyanyv/qsign/raw/master/QSignServer.sh)
复制签名服务器链接 http://0.0.0.0:6666/sign?key=fox

修改签名服务器地址
cd /root/Yunzai-Bot/config/config
vi bot.yaml
在最后一行添加 http://0.0.0.0:6666/sign?key=fox
运行机器人
cd /root/Yunzai-Bot
node app
安装ChatGPT插件
https://github.com/ikechan8370/chatgpt-plugin
cd /root/Yunzai-Bot

# github源
git clone --depth=1 https://github.com/ikechan8370/chatgpt-plugin.git ./plugins/chatgpt-plugin/

# 网络不好连不上github可以使用gitee源,但更新可能不如github及时
git clone --depth=1 https://gitee.com/ikechan/chatgpt-plugin.git ./plugins/chatgpt-plugin/

# 以上二选一后执行下面步骤进入目录安装依赖
cd plugins/chatgpt-plugin
pnpm i
#设置管理密码
#chatgpt系统管理
获取token
https://ai-20230830.fakeopen.com/auth
或者 https://chat.openai.com/api/auth/session
#chatgpt设置token
#chatgpt切换浏览器/API/API3/Bing


评论