简介
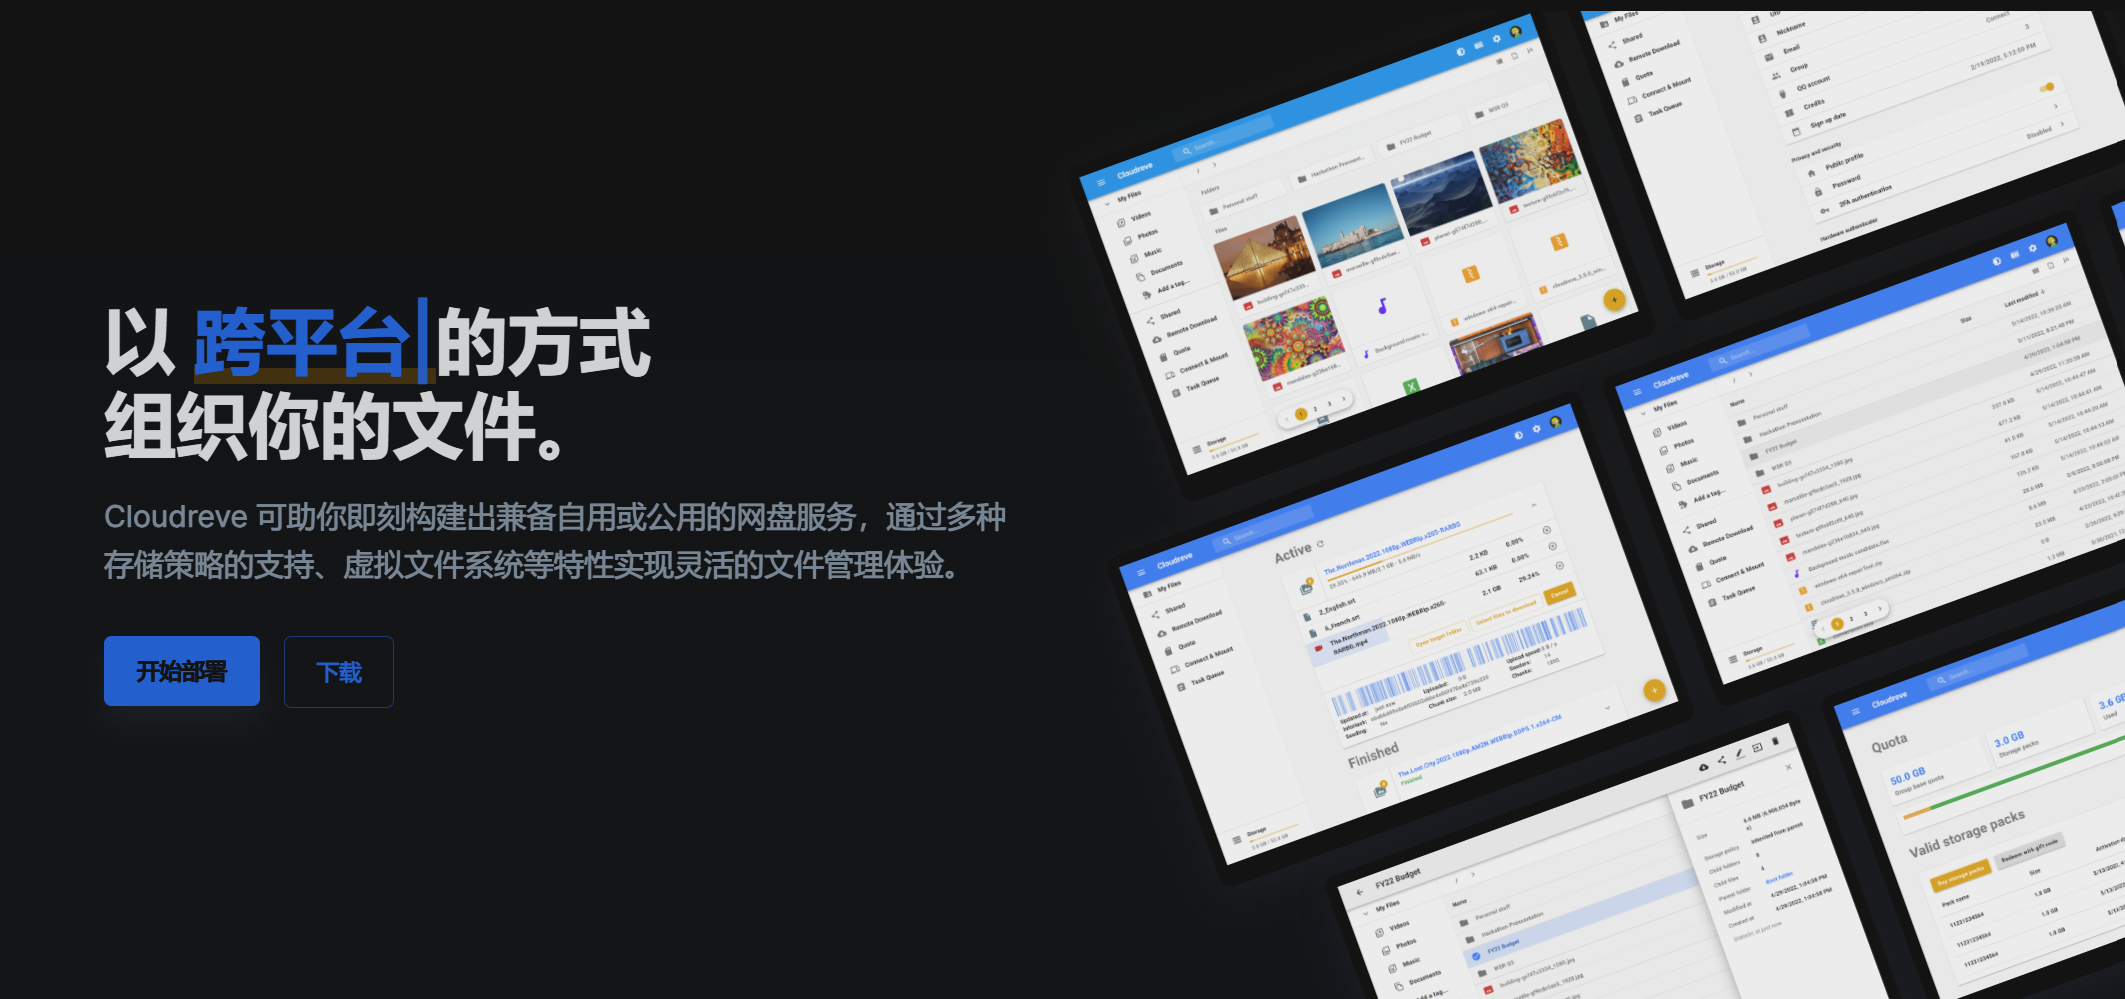
Cloudreve 可以让您快速搭建起公私兼备的网盘系统。Cloudreve 在底层支持不同的云存储平台,用户在实际使用时无须关心物理存储方式。你可以使用 Cloudreve 搭建个人用网盘、文件分享系统,亦或是针对大小团体的公有云系统。
Cloudreve官网:Cloudreve – 部署公私兼备的网盘系统
Cloudreve Github项目地址:cloudreve/Cloudreve: 🌩支持多家云存储的云盘系统 (Self-hosted file management and sharing system, supports multiple storage providers) (github.com)
直接部署
这里所用的系统是CentOS-7.9,装了宝塔面板。将Cloudreve装在了 /home 目录下。
# 下载最新安装包https://github.com/cloudreve/Cloudreve/releases/tag/3.8.3
cd /home && wget https://github.com/cloudreve/Cloudreve/releases/download/3.8.3/cloudreve_3.8.3_linux_amd64.tar.gz
# 解压至cloudreve文件夹
mkdir /home/cloudreve
tar -zxvf cloudreve_3.8.3_linux_amd64.tar.gz -C /home/cloudreve
# 进入
cd cloudreve
# 赋予执行权限
chmod +x ./cloudreve
# 启动 Cloudreve
./cloudreve
此时弹出如上启动提示
[root@ecs7QDd cloudreve]# ./cloudreve

   ___ _                 _
  / __\ | ___  _   _  __| |_ __ _____   _____
 / /  | |/ _ \| | | |/ _  | '__/ _ \ \ / / _ \
/ /___| | (_) | |_| | (_| | | |  __/\ V /  __/
\____/|_|\___/ \__,_|\__,_|_|  \___| \_/ \___|

   V3.8.3  Commit #88409cc  Pro=false
================================================

[Info]    2024-06-26 21:13:20 Initializing database connection...
[Info]    2024-06-26 21:13:20 Start initializing database schema...
[Info]    2024-06-26 21:13:20 Admin user name: admin@cloudreve.org 账号
[Info]    2024-06-26 21:13:20 Admin password: qdIsyDQR 密码
[Info]    2024-06-26 21:13:21 Start executing database script "UpgradeTo3.4.0".
[Info]    2024-06-26 21:13:21 Finish initializing database schema.
[Info]    2024-06-26 21:13:21 Initialize task queue with WorkerNum = 10
[Info]    2024-06-26 21:13:21 Initialize crontab jobs...
[Info]    2024-06-26 21:13:21 Current running mode: Master.
[Info]    2024-06-26 21:13:21 Listening to ":5212"
防火墙开放5212端口

通过http://ip:5212来访问cloudreve,我这里是http://154.201.79.122:5212/login?redirect=%2Flogin

输入刚才弹出的账号密码
admin@cloudreve.org qdIsyDQR
这样网盘就创建完成了!
添加域名和反向代理

点击添加站点并填入方向代理配置
# 在网站的server字段中加入:
location / {
    proxy_set_header X-Forwarded-For $proxy_add_x_forwarded_for;
    proxy_set_header Host 你的域名;
    proxy_redirect off;
    proxy_pass http://127.0.0.1:5212;

    # 如果您要使用本地存储策略,请将下一行注释符删除,并更改大小为理论最大文件尺寸
    # client_max_body_size 20000m;
}
接下来就可以用域名访问了!
进程守护
这时候,如果结束终端的进程,网盘就无法访问了,需要守护进程。
Systemd
# 编辑配置文件
vim /usr/lib/systemd/system/cloudreve.service
将下文/home/cloudreve更换为程序所在目录:
[Unit]
Description=Cloudreve
Documentation=https://docs.cloudreve.org
After=network.target
After=mysqld.service
Wants=network.target

[Service]
WorkingDirectory=/home/cloudreve
ExecStart=/home/cloudreve/cloudreve
Restart=on-abnormal
RestartSec=5s
KillMode=mixed

StandardOutput=null
StandardError=syslog

[Install]
WantedBy=multi-user.target
如果你不会vim,可以直接用以下命令
cat > /usr/lib/systemd/system/cloudreve.service << EOF
[Unit]
Description=Cloudreve
Documentation=https://docs.cloudreve.org
After=network.target
After=mysqld.service
Wants=network.target

[Service]
WorkingDirectory=/home/cloudreve
ExecStart=/home/cloudreve/cloudreve
Restart=on-abnormal
RestartSec=5s
KillMode=mixed

StandardOutput=null
StandardError=syslog

[Install]
WantedBy=multi-user.target
EOF
# 更新配置
systemctl daemon-reload
# 启动服务
systemctl start cloudreve
# 设置开机启动
systemctl enable cloudreve
管理命令:
# 启动服务
systemctl start cloudreve
# 停止服务
systemctl stop cloudreve
# 重启服务
systemctl restart cloudreve
# 查看状态
systemctl status cloudreve
看到绿色的点就说明成功了!

